
The first batch looked fine on the bench: forty plastic jars of peanut butter, lids twisted on by hand, labels straight. Two days later the shipping box told a different story. One lid had backed off, oil had crept down the jar wall, and the whole order smelled like the inside of the parcel. Nothing was wrong with the recipe. The jar was never actually sealed.
That gap between “the lid is on” and “the jar is sealed” is what this guide closes. It walks the full ladder: what structurally holds a plastic jar shut, how each sealing method actually forms and fails, where hand sealing stops being enough, which equipment specs matter, and how to verify and cost the whole decision.
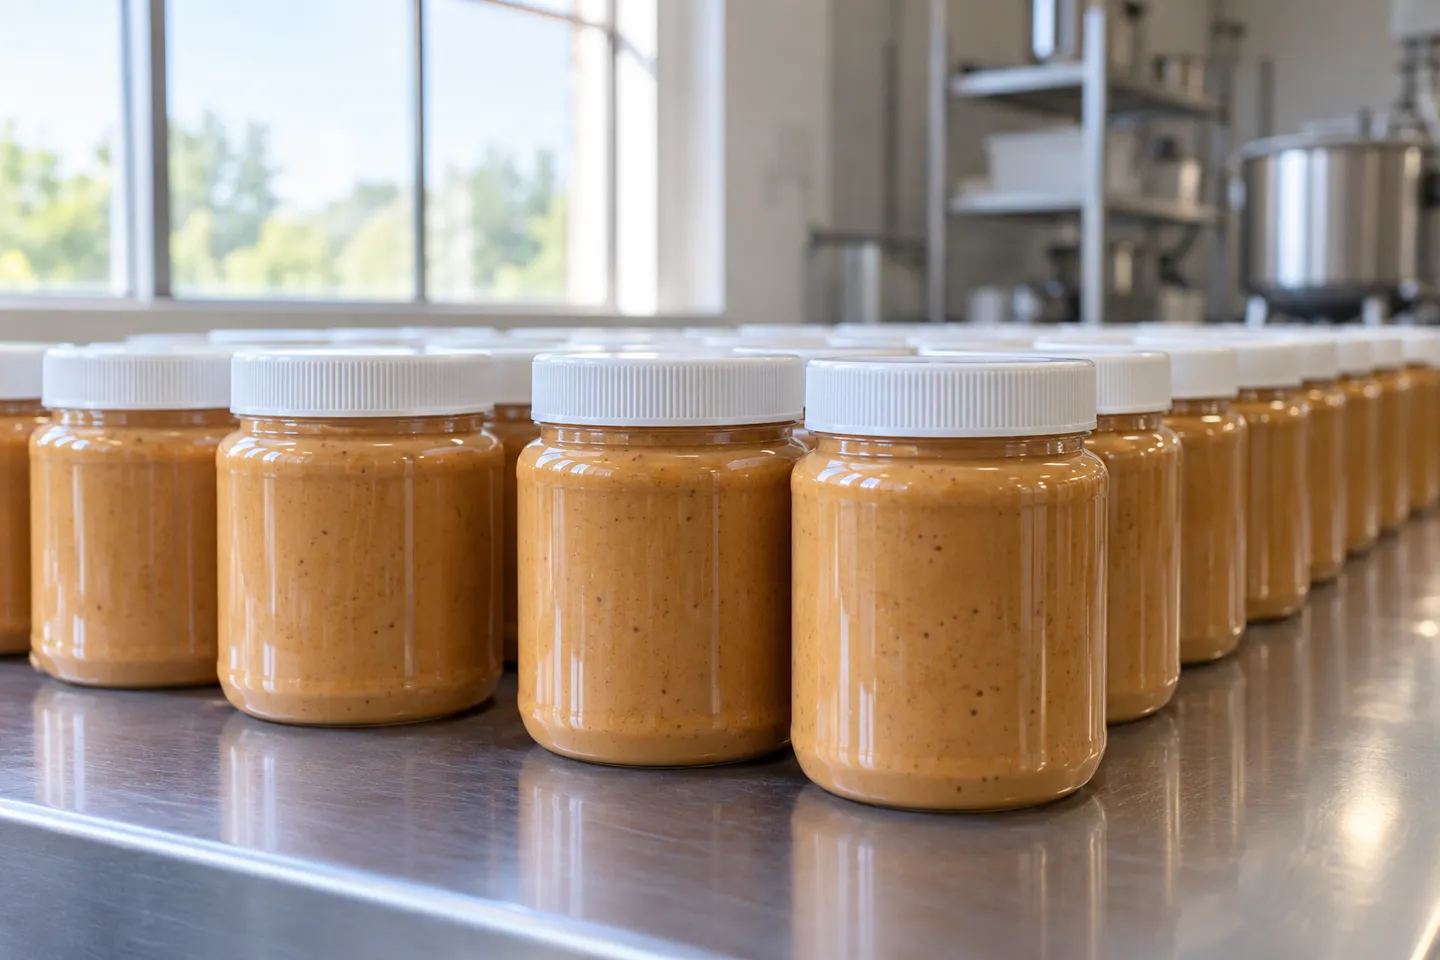
What Holds a Plastic Jar Shut
One quick distinction before anything else. If your problem is a cracked jar or a hole in the wall, you are looking for an adhesive or epoxy repair, and this guide will not help much. What follows is about closure sealing: making the joint between a jar mouth and its lid hold against air, moisture, and shipping.
Every plastic jar on a shelf closes through one of five structures.
A continuous-thread closure is the common screw lid. Threads on the lid mate with threads molded into the jar neck, and a gasket or liner inside the lid presses against the jar mouth rim. Peanut butter jars, supplement jars, and most food-grade plastic jars use this family.
A snap-on closure has no threads. A formed bead on the lid rolls under a flange on the jar neck and holds by interference. Child-resistant cannabis jars and many cosmetic jars work this way.
A lined closure adds a third element. Inside the lid sits a liner, often a foil laminate, that is bonded to the glass-smooth jar rim after capping by induction, or pressed into place as a pressure-sensitive pad. This is what gives you the tamper-evident look and the airtight claim on retail packaging.
A shrink band does not close the jar at all. It is a plastic sleeve over the cap and neck that shrinks tight with heat, and its job is evidence: anyone opening the jar must tear it first.
Direct heat sealing, where a film is welded over the jar mouth, exists but is rare at jar scale for plastics and belongs to film packaging lines rather than jar lines.
Which closure is on your jar?
- Threads inside the lid: continuous-thread closure
- Lid pops over a bead: snap-on closure
- Foil disc visible inside the lid: lined closure
- Plastic sleeve around cap and neck: shrink band
- No lid at all, film welded on: direct heat seal
Note the jar material too: PET, PP, or HDPE changes which liners and seals bond well.
Household shortcuts sit at the edge of this map. A water-bath canning method depends on a metal lid and the audible pop of a vacuum forming, which plastic jars and plastic caps simply do not give you. Hot air from a hair dryer or melted wax can look like a seal on camera, but neither controls temperature at the jar mouth, neither produces a verifiable barrier, and neither belongs anywhere near a jar you intend to sell. They are storage tricks, not seals.
How Each Seal Actually Forms
Knowing the closure family is not the same as knowing why it holds, or why it leaks. Three mechanisms do the real work.
Mechanical compression is the screw-lid default. The gasket or liner inside the lid deforms against the jar mouth rim, and the residual torque from tightening keeps the contact pressure up. The seal is only as good as two things: how flat and clean the jar mouth is, and how much torque actually made it into the cap. Over-torque cracks plastic caps or strips threads; under-torque leaves the gasket barely touched.
Induction bonding works on lined lids. The foil layer inside the liner heats up in an electromagnetic field, a polymer coating on the liner melts, and that polymer fuses to the jar rim as the cap sits already screwed on. The result is a one-piece hermetic barrier that also proves tampering. It is non-contact and fast, and it is what gives nearly every retail supplement or sauce jar its foil look.
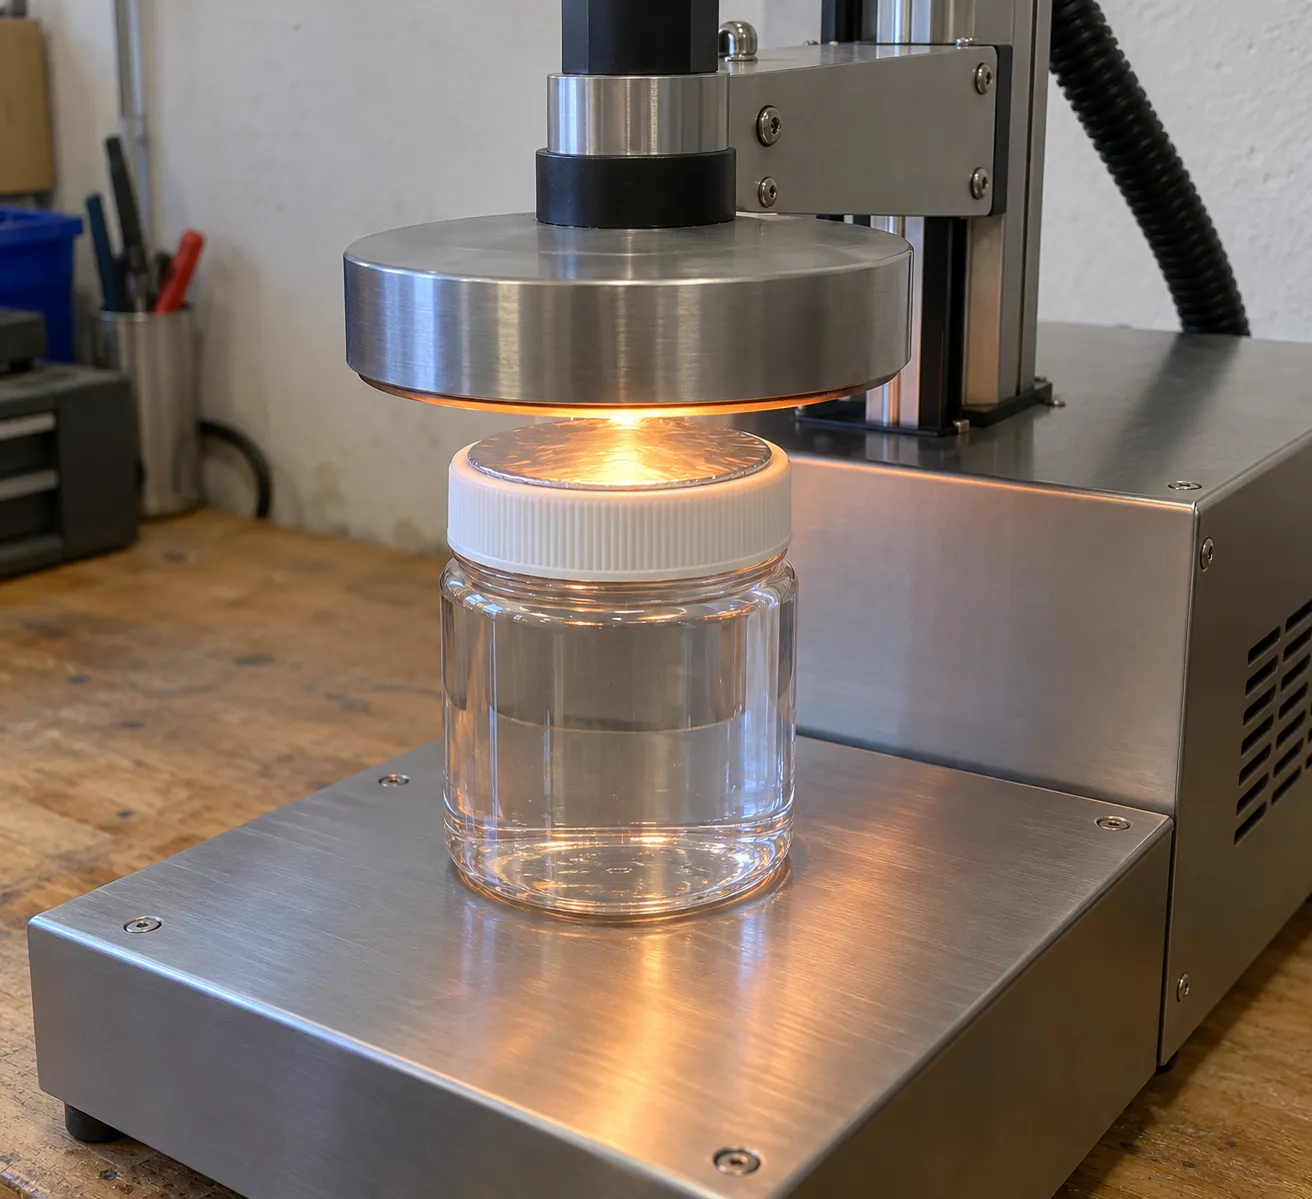
Shrink-tightening is mechanical but at the package level. Heat shrinks the band uniformly around cap and neck. It adds no barrier on its own; it adds evidence and some tamper resistance.
Here is the part that catches people. A screw cap without a liner is a dust cover, not a seal. And a lined cap that was never induction-sealed is still just a dust cover, because the liner does nothing until it is bonded. That is why “I tightened it really hard” and “it came with a foil liner” both fail as sealing arguments.
Plastic also hides the problem. A metal mason lid tells you it sealed with an audible pop as the vacuum pulls it down. Plastic caps give no signal at all, so a jar that leaked all through delivery can look identical on the shelf to one that sealed. Three failure sources cover most real cases: wrong or missing liner for the jar material, product film on the jar rim where the liner needs to bond, and torque set by feel rather than by setting. Not every liner chemistry bonds equally well to PET versus PP, so any change of jar material needs the liner question reopened.
Verification does not need a laboratory. Turn a sample upside down for a minute. Look for the liner bonded across the full rim. On anything you sell, run a small vacuum or pressure check on a few jars per batch if the product is sensitive. None of these is fancy, and all of them catch what a fingertip cannot.
The closure limits also differ by can and end, which is why inspection standards in regulated food canning are written per container type rather than as one universal test. The FDA’s inspection guide for low-acid canned foods treats the closure as its own inspection subject for exactly this reason (U.S. Food and Drug Administration, 2014).
A false seal looks like a seal. Tightened is not sealed: no liner, no barrier; liner present but not bonded, no barrier; product film on the jar rim, no bond. Check by inversion, rim inspection, or vacuum test, never by how the cap feels.
When Hand Sealing Stops Being Enough
Hand sealing and machine sealing are not two qualities of the same job. They are two different operating regimes, and the honest question is which one your order volume has quietly left behind.
The real ceiling of hand sealing
A trained hand-capper is consistent for a while and then is not. Torque by feel drifts across a shift, liners pressed by hand seal in the middle and miss at the edges, and output tops out around a few jars per minute at best, which is a few hundred jars per shift once filling, wiping, and boxing take their share. At that scale, hand sealing with lined caps and a simple hand-held induction tool is a legitimate setup, not a compromise.
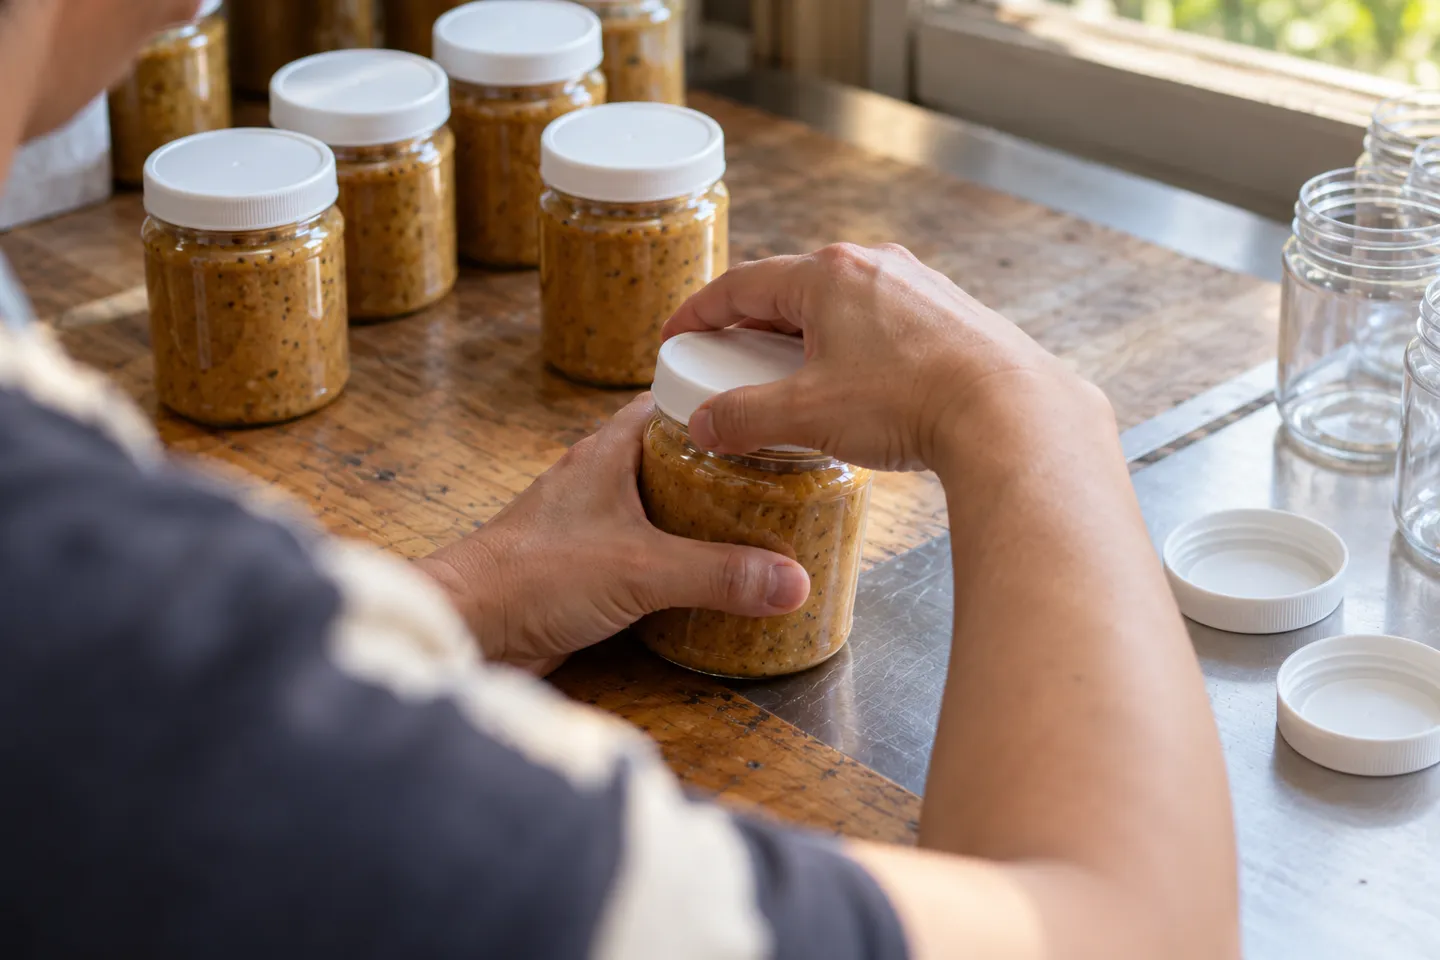
The floor under all of it is compliance. Most retail channels, from marketplaces to pharmacy chains, treat tamper evidence as an entry requirement, and a lined, bonded closure is the cheapest honest way to provide it. Shelf stability is a separate question that sealing alone never answers: acidity, heat process, and refrigeration belong to your product process and, in the US, to a process authority for acidified and low-acid foods. The closure’s job is to keep the jar closed. It cannot make an unsafe product safe.
Five signals it is time to move
The five signals, in order
- 1Rework or leak complaints show up more than once a month
- 2Daily volume passes roughly the thousand-jar mark
- 3A channel asks for tamper evidence in writing
- 4The next product is a liquid, a powder, or oxygen-sensitive
- 5Hand-capping hours, priced honestly, exceed machine depreciation
Watch for these in the order they usually arrive. Rework or leak complaints show up more than once a month. Daily volume passes roughly the thousand-jar mark, where a second pair of hands costs more than a machine payment. A channel asks for tamper evidence in writing. Your next product is a liquid, a powder, or anything oxygen-sensitive, and the cost of one bad batch now exceeds the cost of equipment. Or the arithmetic simply flips: hours of hand capping per day, priced honestly, exceed the depreciation on an entry-level machine.
What the first step up looks like
The ladder has three rungs before a full production line, and most small producers need exactly one of them.
Hand sealing vs semi-automatic vs automatic
| Setup | Realistic output | Consistency | Tamper-evident capable | Fits when |
|---|---|---|---|---|
| Hand (lined caps, manual induction tool) | A few jars per minute | Operator-dependent | Yes, with care | Startup and side-channel volume under a few hundred jars a day |
| Semi-automatic machine | Around 10-20 jars per minute, model-dependent | Machine-set torque or seam | Yes, by design | Growing orders, frequent jar changes, one operator |
| Automatic machine | Tens of jars per minute, model-dependent | Set once, monitored | Yes, by design | Steady daily volume and staffing that you want off the capping table |
A semi-automatic machine keeps a person placing each jar but lets the machine apply the torque or the seam, which removes the drift that hand capping cannot. An automatic machine adds cap feeding and jar handling and earns its footprint when capping labor becomes the bottleneck. The right rung is set by your five signals, not by ambition, and moving one rung early costs less than moving two rungs late.
Choosing Equipment by Your Jar and Cap
“Sealing machine” is not one product. The fastest way to waste a budget is to buy a machine before writing down what your jar and cap actually are. Work the four steps in order.
Step 1: let the closure pick the process
The closure family you identified in the first section maps directly to a machine family. This is the one table that decides everything downstream.
Closure type to machine family
| Closure on your jar | Sealing process | Machine family | The parameter that matters most |
|---|---|---|---|
| Screw cap, unlined | Torque control | Screw capper (spindle or servo head) | Cap diameter range and torque setting |
| Screw cap with foil liner | Torque, then induction bond | Screw capper plus induction sealer | Jar mouth diameter range and liner match |
| Snap cap | Press force | Snap capper (press head or belt) | Jar height range and press adjustment |
| Metal end on a composite or plastic can | Double seaming | Can seamer | Chuck and roller set matched to can diameter and height |
Sizing follows from the same table. A typical induction sealer covers jar mouth diameters in the roughly 50 to 121 mm range on a given model, and a common servo screw capper accepts cap diameters from about 35 to 100 mm with jar heights from roughly 38 to 300 mm, though every range is model-specific and should be confirmed against your actual jar. One automatic seamer on the market, listed by its manufacturer at an adjustable 20 to 55 cans per minute, states outright that achieved speed depends on can material, size, and contents. That honesty is the standard to demand from any quote.
Step 2 and 3: read the speed and the auxiliary claims correctly
Rated speed is a laboratory number; your output is the rated speed minus your changeovers, your slowest station, and your reject rate. Ask every supplier to state output with your jar, your cap, and your product, run on their floor, not with a demo jar.
Then decide honestly whether you need atmosphere control. Vacuum or nitrogen flushing buys shelf life for oxygen-sensitive products, and on well-specified machines it is measurable: nitrogen-flush sealing lines can hold residual oxygen in the low single-digit percentages on nut and powder products. Coffee, nuts, and some pharmaceutical products care. Honey and peanut butter mostly do not. Paying for the option your product does not need is the classic over-buy.
The four steps, in order
Step 4: price the changeover, not just the machine
Every sealing format is anchored by parts shaped to one jar: a seaming chuck, turntable, and lid feeder cut to a diameter and height; capping heads sized to a cap; liners matched to a rim. When you change jar sizes, you change a set of sealing parts, and the second set is where quotes quietly diverge. Two machines with similar sticker prices can be thousands apart once you own two jar formats.
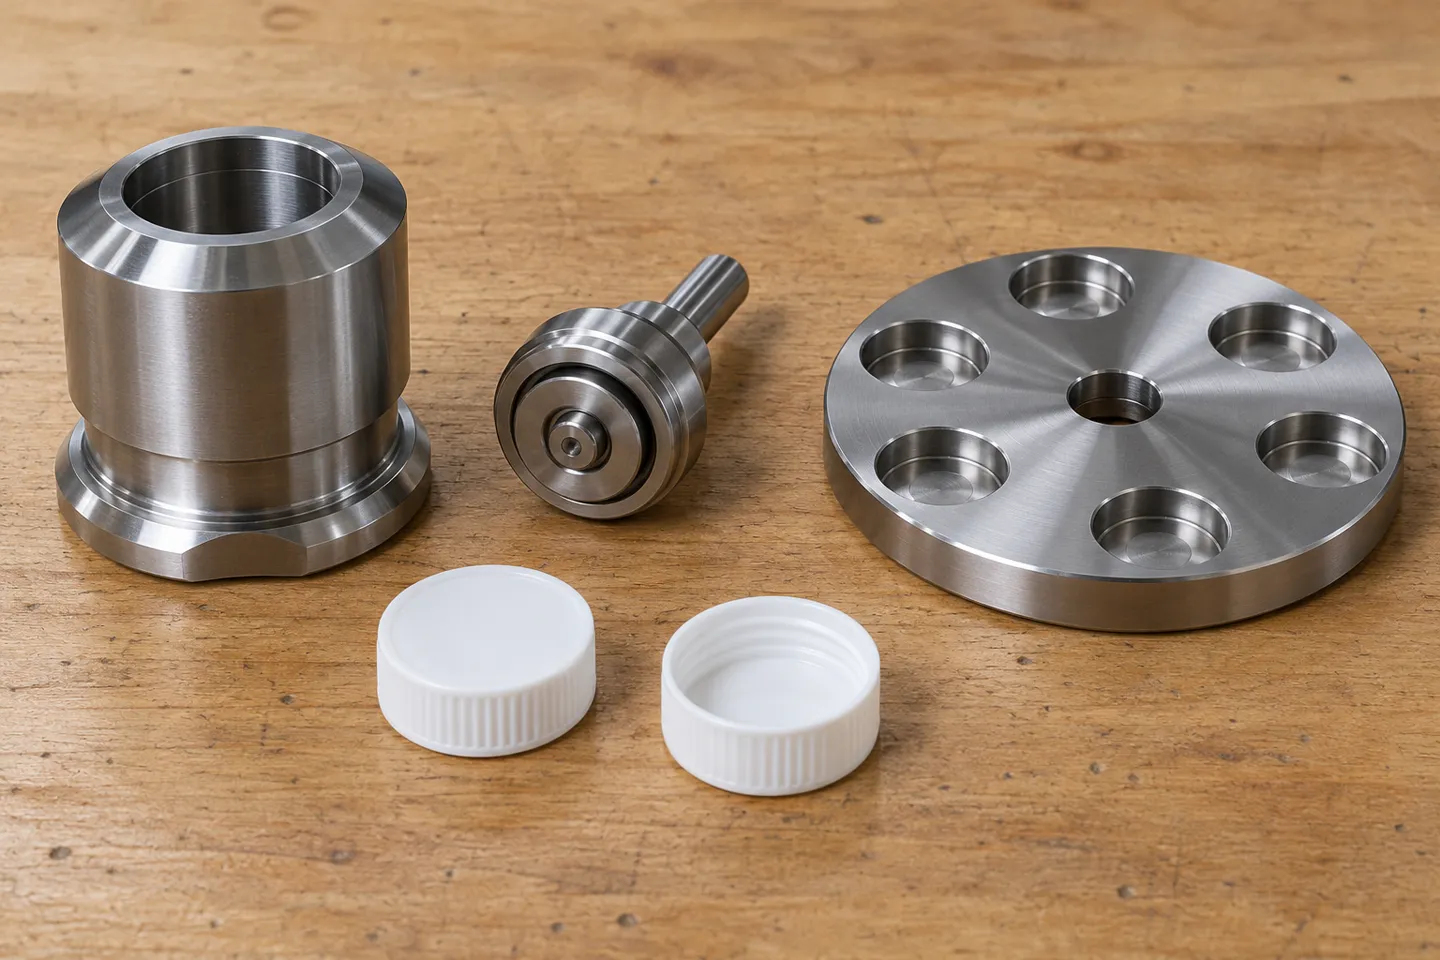
So the inquiry that gets you a real number contains four things: your jar drawings or samples with material and mouth diameter, your cap spec, your target output in jars per shift, and your likely second format within a year. Suppliers who answer that precisely are the ones who build sealing parts themselves. The manufacturers who do this work in-house are also the ones whose trial runs mean something, which is the subject of choosing whom to buy from at all.
Step 4 is the inquiry itself: send your jar drawings, cap spec, target output per shift, and your likely second format, and the quote that comes back already includes the changeover parts.
Request a sealing quoteWho Builds These Machines
Three kinds of seller stand behind the machines in this market, and they are not interchangeable.
A trading company resells whatever its catalog carries. It is fine for spare-part sourcing, but it rarely controls the sealing parts, so a jar change becomes a negotiation with a third party. A general packaging equipment maker covers filling, labeling, and capping across many container types, which helps when you buy a whole line but varies widely at the sealing detail. A focused can-and-jar sealing manufacturer builds the sealing end as its core product and usually machines its own chucks, rollers, and change parts.
The reliable tells of a real source manufacturer are checkable in one conversation: they run trial seals on your own jars and send video, they hold certificates they can produce for the specific machine family, they make their own sealing parts, and their support commitments come with hours, not adjectives. For a small producer, the practical fit also shows up in the model ladder: a range that starts semi-automatic and grows to automatic without changing platform saves you from rebuying the learning curve, and stock on standard configurations protects you when an order lands early.
None of this requires factory visits to verify. The trial video alone separates the builders from the box-shippers faster than any certificate.
Testing a Seal You Can Defend
The expensive way to test a sealer is to receive it and discover your jars do not fit it. The correct sequence is to send your jars, caps, and a product sample before the balance payment, and get back a trial record: settings, output achieved, rejects, and video. That record is not a courtesy. It is the baseline your acceptance contract is written against.
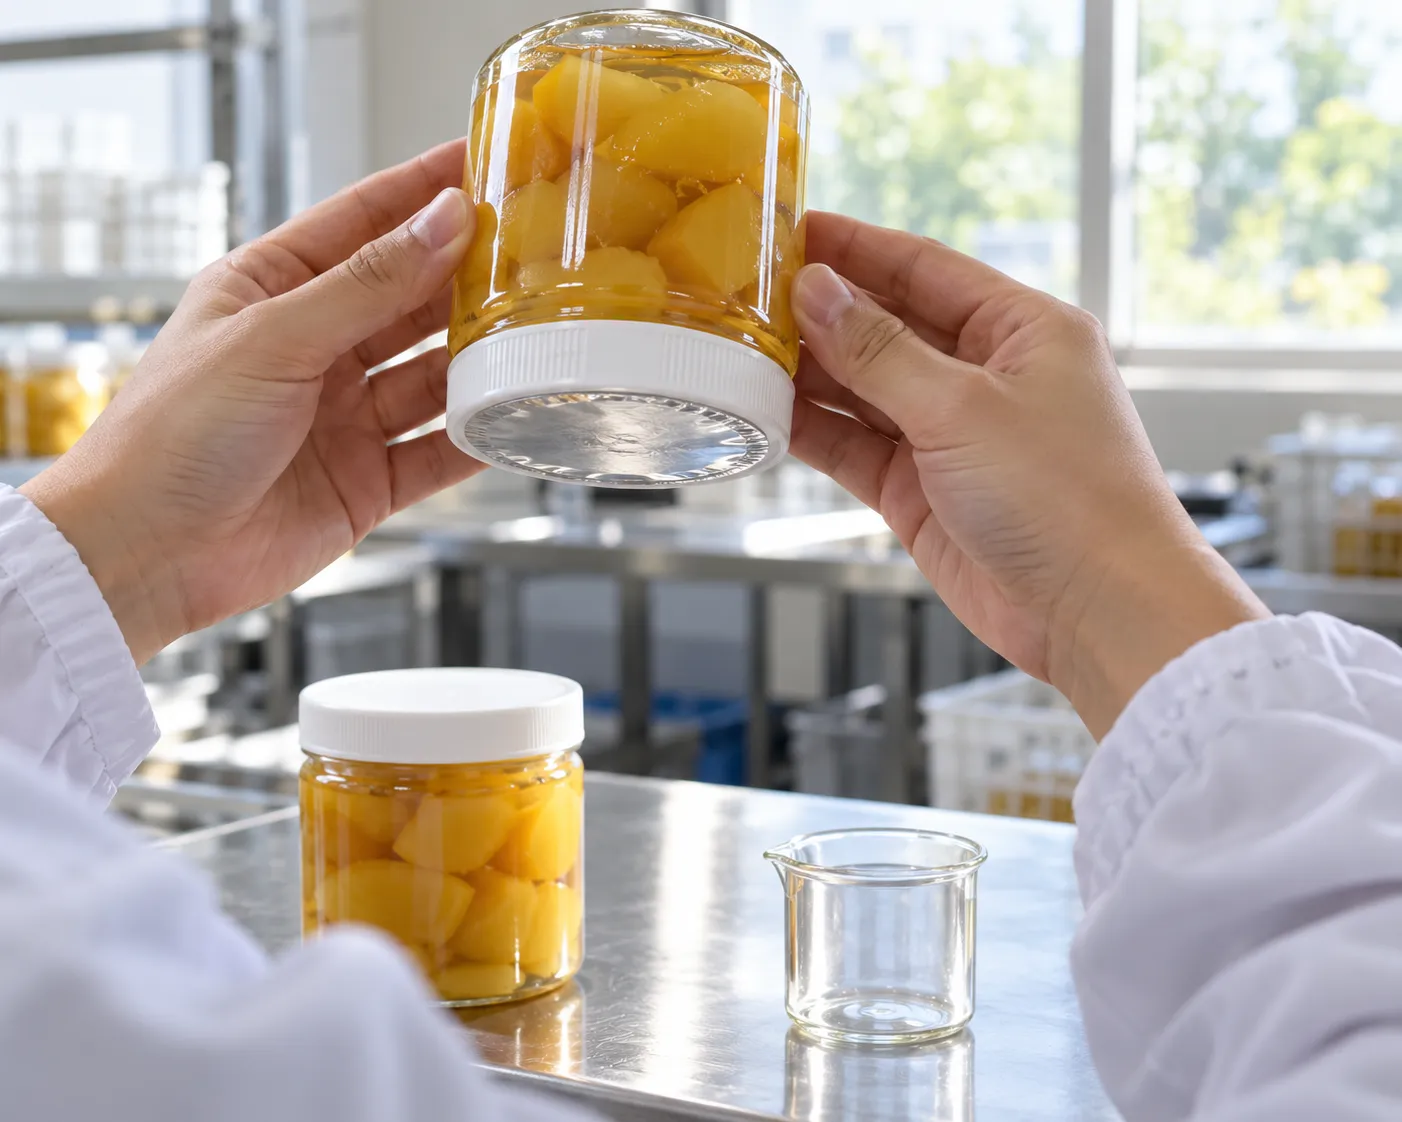
Each closure family fails in its own characteristic way, and each failure has a matching check you can run on the floor.
Failure modes and the checks that catch them
| Process | Typical failure | Floor check | When to change approach |
|---|---|---|---|
| Screw capping | Torque drift, cracked caps, cross-threads | Torque-check a sample from each batch start and after breaks; inspect caps for stress whitening | Caps keep cracking at correct torque: ask for a softer clutch setting or a different cap stock |
| Induction lining | Unbonded liner, partial bond around the rim | Peel a trial jar after full cooling; look for complete foil adhesion, not just center attachment | Bond stays partial: check jar rim cleanliness and liner-to-jar-material match before blaming the machine |
| Snap capping | Loose caps from height variation | Press a sample inverted and listen for cap lift; measure jar heights in the batch | Height spread too wide: tighten incoming jar spec, the machine cannot seal a moving target |
| Double seaming | Wrinkles and loose seams on composite cans | First-operation then second-operation visual, teardown on samples per run | Wrinkles persist with correct roller setup: the can and end combination needs review with the container supplier |
In production, sampling beats heroics. Visual checks on a fixed cadence, an inversion or vacuum check on a few jars per run, and a teardown or peel test on kept samples give you a defect curve while it is still cheap. US low-acid canned food inspections formalize this rhythm with visual closure checks at intervals not exceeding 30 minutes of operation and double-seam teardowns at intervals not exceeding four hours, a rhythm written for thermally processed low-acid foods rather than as a universal rule (U.S. Food and Drug Administration, 2014). Borrow the cadence proportionally, and re-run the whole trial whenever anything material changes: a new jar supplier, a new cap lot, a new recipe with more oil or acid.
That trial record, plus an acceptance line in the contract, is the entire difference between a leak dispute you win and one you absorb.
What This Decision Costs Over a Year
Hand sealing keeps two costs off the books: the rework and replacement rate from false seals, and the ceiling that turns large orders away. A machine moves those onto the books and adds its own. The honest comparison is a first-year total, and it has three blocks.
What the first year actually costs
Machine and freight, installed and commissioned
Sealing parts: your first format’s set, plus the set for your likely second format
Downtime and response: spare-part kits on the shelf, a service promise with hours attached
Changing jar sizes means swapping the entire set of sealing parts, not adjusting a dial.
That sentence is the whole procurement lesson: the machine price buys your first format, and the parts catalog buys every format after it. A supplier whose answer to the second-format question is vague is quoting you a first-year bill they have chosen not to count.
The small-producer’s ledger
Three lines decide whether a quote is serious. Whether the sealing parts are machined by the same company that stamps the nameplate. Whether the trial on your jars is included, filmed, and written down. And whether changeover time is a stated number, because a format switch measured in minutes on a quick-change design is worth more to a multi-SKU small producer than another ten cans per minute on paper.
The dealer’s angle
The same logic runs one layer up. The small brands asking you for machines are really asking two questions: can I start at my volume, and what happens when I change jars. Stock that leans toward quick-change, ladder-friendly machines answers both, and the dealers who answer both are the ones those brands come back to.
Levapack builds sealing machines to this same brief: seaming chucks, turntables, and lid feeders machined to the jar diameter and height a customer sends, seamer rolls matched to tinplate, PET, aluminum, or paper tube, and capping heads chosen for the cap, so that a format change is a parts order rather than a crisis. You can compare can sealing machine configurations against the four-line inquiry from earlier in this guide. Send your jars and caps and we run the trial on your own containers and film it, so the seal in your acceptance clause is one you have already watched being made.
See Your Own Jars Sealed Before You Pay
Send Levapack your jars, caps, and a product sample: the trial runs on the machine you are buying, filmed and written up, so the acceptance clause in your contract describes a seal you have already watched being made.
Request a trial sealReferences
- U.S. Food and Drug Administration. “Guide to Inspections of Low Acid Canned Food Manufacturers: Part 3 – Container/Closures.” 2014. https://www.fda.gov/inspections-compliance-enforcement-and-criminal-investigations/inspection-guides/guide-inspections-low-acid-canned-food-manufacturers-part-3


 EN
 RU
 ES
 FR
 DE
 NL
 IT
 JA
 ID
 PT
 KO
 AR
 TH
 VI
 TR
 PL