Can sealers enhance the efficiency of can packaging operations and reduce production costs. This specialty equipment allows businesses to generate higher profits. However, it’s not enough to have a can sealer. You can only enjoy these benefits if you know how to use your can sealer in the first place. In this article, we have outlined some important things that you should know so that you can make the most out of your can sealer. Read on!

Things to Know When Using a Can Sealer
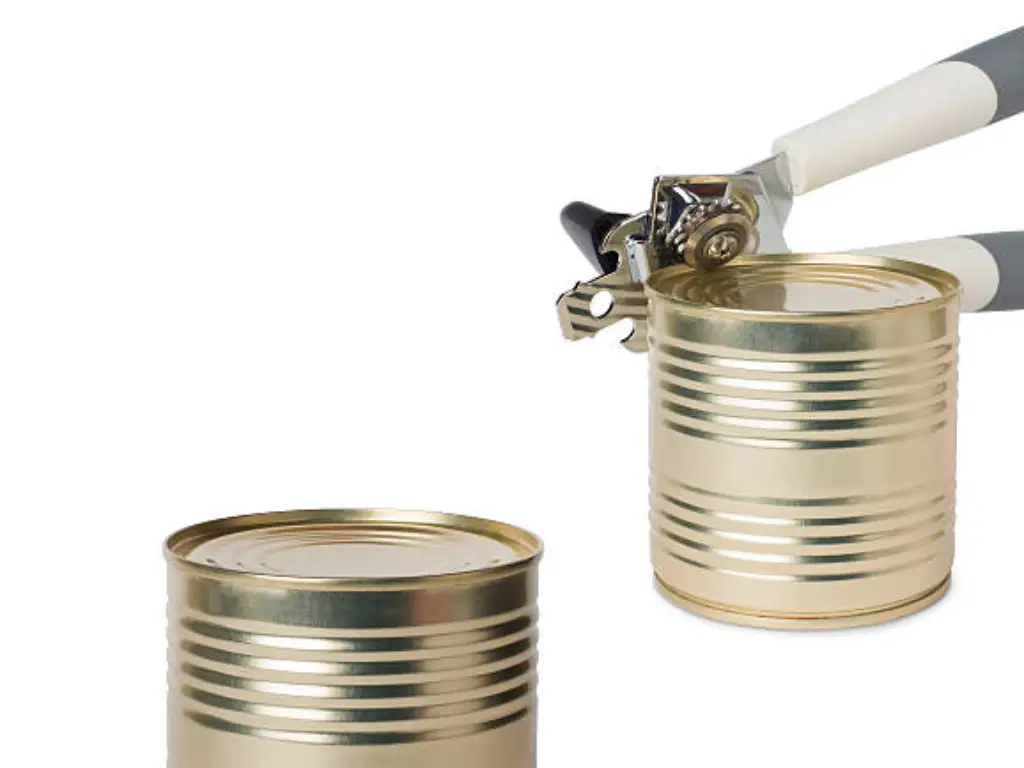
Understanding the Sealing Process
A can is sealed by attaching the can lid to the can body and creating a double seam. The outer end of the can lid is known as the curl; the outer top part of the can body is known as the flange. The double seam is formed by interlocking the curl of the lid with the flange of the body.

In a series of automated processes, the can sealer compresses the curl and the flange and mechanically interlocks them. The can sealer also applies a sealing compound to fill out any remaining gaps and make the double seam airtight. Your involvement in the sealing process depends on the type of machine that you have:
- Semi-automatic can sealer: You manually put the can on the sealing chamber.
- Automatic can sealer: You will have minimal involvement in the sealing process. The can enters the seamer through a conveyor.
It would also help you learn to use a can sealer if you knew more about the different designs and operations of can seamer machines.
Evaluating a Double Seam
Can sealing is all about making a reliable double seam. The integrity of the double seal formed in your cans is crucial. This will ensure that there will be no leaks and your product inside the can will not be contaminated. Part of learning how to use a can sealer is learning how to evaluate the double seam produced by your machine after it is fully set up.

The shape and specifications of the double seam are determined by the components of your can sealer. This includes the position of the rollers, the height of the turntable, and the pressure exerted on the can. You should set up a system to inspect the double seams at sufficient intervals in the operation. If your machine seals hundreds of cans every minute, and you fail to detect a defective seam right away, that will result in thousands of cans that are not sealed right.
Using a seam micrometer, measure crucial dimensions of a double seam created by your can sealer. The crucial dimensions that you need to look out for are the lid hook length, body hook length, width, tightness, and thickness. Also, observe for any wrinkles. You can work with your manufacturer representatives to learn more about the proper specifications and technical data for your double seam.
Setting Up Your Can Sealer
When you order a can sealer, you never set the machine up yourself. Representatives from the can sealer manufacturer will provide technical support. Going into the technical details may be unnecessary, but an adequate understanding of these procedures will help you use your can sealer.

Engineers with years of experience assemble the can sealer by hand, putting the right parts in their proper places. Once the can sealer is assembled, the representative will carefully inspect the machine. They will make sure of the following:
- all components run smoothly,
- electrical parts are properly connected,
- toolings are correctly installed,
- wirings are not loose and look pleasing to the eyes,
- motors run without overheating and creating too much noise.
After the inspection, the engineers will run trial tests with your sample cans to guarantee that the operation will produce the desired final product.
During this process, work with the representative from your can sealer manufacturer. Let them explain to you the different components of the can sealing machine. Don’t hesitate to ask them questions. The insights that you gain from these representatives during the assembly and inspection will enhance your ability to use your can sealer.
If you partner with LEVA Packaging Equipment (LPE), one of the best can manufacturers in China, patient engineers are always ready to assist you with any technical concerns.
Operating Your Can Sealer
The day-to-day operation of your can sealer will depend on its level of automation. Manual models require physical effort for each step, semi-automatic models assist the process with electrical power, and fully automatic machines handle nearly the entire process on their own. Below, we detail the steps for each type.
How to Operate a Manual Can Sealer
Manual can sealers are operated entirely by hand, making them a great choice for home canning, small-scale producers, or situations where electricity is unavailable. They require the operator’s physical effort to create the seam.
- Adjust the Machine for Your Can Size. Before you begin, you must set up the sealer for the specific height of your cans. Adjust the can pedestal or base plate, usually by turning a threaded rod or adding spacers, until the can, with its lid on, fits snugly against the upper seaming chuck.
- Prepare and Fill the Can. Fill your container, leaving about a ¼ inch of headspace from the lip. For dry goods, you can add an oxygen absorber packet on top to extend shelf life.
- Place the Lid and Secure the Can. Place the lid correctly on the filled can (ridges facing up). Position the can on the pedestal and engage the clamping lever. This will raise the pedestal and press the can firmly against the chuck, holding it securely in place.
- Perform the First Sealing Operation. Engage the first operation seaming roller by pushing it against the can lid. Begin turning the machine’s crank handle. As you turn, this roller will curl the edge of the lid and hook it onto the can’s flange. Continue cranking for the number of rotations specified in your machine’s manual, or until you feel the roller has completed its path.
- Perform the Second Sealing Operation. Disengage the first roller and engage the second operation seaming roller. Continue turning the crank handle. This second roller will press and flatten the hooked seam, compressing it to form a final, airtight double seam.
- Release and Inspect the Can. Disengage the second roller and release the clamping lever to lower the pedestal. Remove your sealed can and carefully inspect the double seam to ensure it is smooth and free of wrinkles or defects.
How to Operate a Semi-Automatic Can Sealer
Manual and semi-automatic can sealers are basically operated the same way. The only difference is that manual can sealers do not use any power source before you can use them. Meanwhile, semi-automatic will need electricity before they can operate. Below is a sample step-by-step guide on how to use a semi-automatic can seamer in sealing dry goods.

- Adjust the machine’s components to match the size of your can so that it can seal it properly. You can raise the can pedestal up or down using an adjustment dial or a raising arm depending on the machine you are using.
- Fill your containers first leaving a ¼ inch space from the lip of each can. Check your machine’s instructions if it can handle the type of product you are sealing. Because some can sealers are only meant for dry goods and not for wet foods.
- To prevent the remaining oxygen inside the can from spoiling the product, you can put an absorbing packet on top of the dry goods first before sealing.
- Place the lid on the filled can and make sure that it faces the right direction (the ridges must be facing upwards).
- Place the capped can on the machine’s can pedestal and push the lower level. This raises the can pedestal.
- Push down the machine’s lever and then leftwards to lock it.
- To start the sealing process, push the sealing handle forward.
- Keep increasing the pressure on the machine’s sealing arm for about 5 seconds. Now, pull the sealing handle towards you and repeat this process. The sealing process is now completed.
How to Operate a Fully Automatic Can Sealer
Fully automatic can seaming machines are usually integrated in a production line for a continuous packaging process. So, the operator only needs to start the machine via its control panel and provide bulk quantities of lids into it then let the machine do the rest.
Can Sealer Types: Choosing the Right One for Your Needs
Can sealers come in three main types based on their level of automation: manual, semi-automatic, and fully automatic. Each type has unique advantages and limitations, making them suitable for different products and industry needs. To help you choose the right equipment, here’s a concise comparison of their key features, suitable product types, and typical applications:
| Can Sealer Type | Advantages | Disadvantages | Suitable Products | Common Applications |
|---|---|---|---|---|
| Manual Can Sealer | Low-cost, simple to operate, no power supply required, ideal for small-scale or personal use. | Low efficiency, labor-intensive, unsuitable for large-scale production. | Dry goods (grains, tea, coffee beans, snacks). | Household use, small workshops, handmade food or gifts production. |
| Semi-Automatic | Higher efficiency, reduces manual labor, suitable for small to medium-batch production. | Higher cost than manual, requires electricity, more maintenance needed. | Dry goods, jams, sauces, and some semi-moist products. | Food and beverage industries, small to medium-scale factories. |
| Fully Automatic | High automation, most efficient, supports advanced features, ideal for mass production. | High initial cost, requires proper space and professional maintenance. | Beverages, soups, sensitive materials, pharmaceutical products. | Large-scale food and beverage factories, pharmaceutical production lines. |
Taking Care of Your Can Sealer Regularly
Taking care of your can sealer regularly will help sustain the proper functioning of the machine and the quality of your products. Every now and then clean the machine from debris, stains, and hand prints. Use anti-rust oil to polish the can sealer. This will prolong its lifetime.
Frequently Asked Questions (FAQs) and Troubleshooting
- Causes: The seaming head and can body are misaligned, roller pressure is insufficient, or rollers are worn-out.
- Solutions: Ensure proper alignment, adjust roller pressure, and replace damaged rollers.
- Causes: Low-quality or deformed cans/lids, incorrect roller positions, or setup issues.
- Solutions: Use high-quality materials, check roller positioning, and inspect the machine setup.
- Causes: Power interruptions (semi/fully automatic), loose or damaged components, or overheating.
- Solutions: Check electrical connections, inspect for jams/loose parts, and allow motor cooling if overheated.
- Causes: Incorrect can height adjustment, misaligned rollers, or uneven sealing compound application.
- Solutions: Adjust turntable height, align rollers properly, and ensure sealing compound is evenly applied.
Regular cleaning, lubrication of moving parts, routine component inspections, and using high-quality cans/lids can minimize issues. Follow the manufacturer’s maintenance schedule for optimal performance.
Conclusion
Learning how to use a can sealer will help you make your can sealing operations more efficient. You will achieve significant business growth with higher profits and reduced production costs. This growth will be experienced in the long-term because you will be able to prevent breakdowns and interruptions in your operation. The key is to learn what you can and to develop a trusting relationship with your manufacturer representatives.


